We had originally priced everything a while back at Lowe's. Um, yeah, that was going to be expensive. First, I guess I should explain, when we put up the baseboards we decided that we didn't want to bother with mitering the corners (even though we know how) we didn't want to mess with 16 foot lengths dragging them in and out of the house 20 times to get the measurement exact (sure, if we really knew what we were doing it would take 20 times, but whatever). So we used corner blocks. That way, you only have to make straight cuts. So we decided to take that same route with the crown.
But, when we looked at the cost of the corner blocks, they were expensive. The inside corners were 8 bucks each and the outside corners were around 20. That would have been around $130 in just corner blocks, plus the crown molding was $2.25 a linear foot. Total cost of project at Lowe's? Almost a grand.
No thank you.
So we put it off for a while. Most of our building supplies came from National Home Center (now Builder's Supply Company) so I checked out prices there.
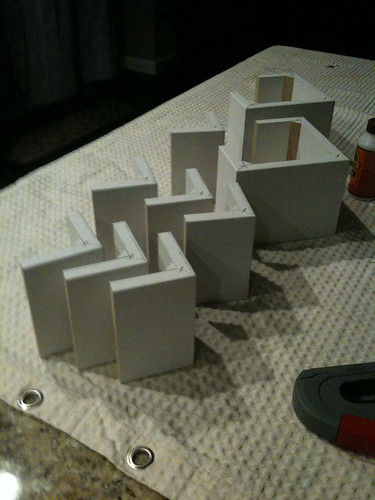
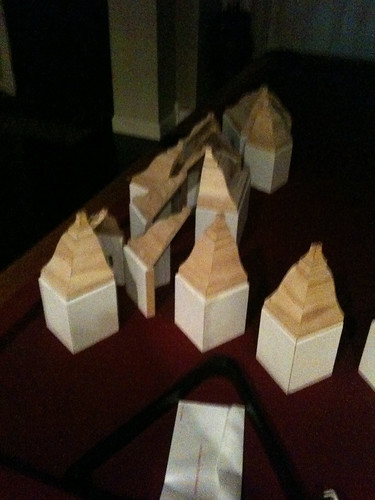
Bingo. I got all the crown for $210. And we made our own boxes out of some crown and left over pieces of MDF.
Step 1:
Step 2:
(crappy photo brought to you by my iPhone.)
That process took one full weekend.
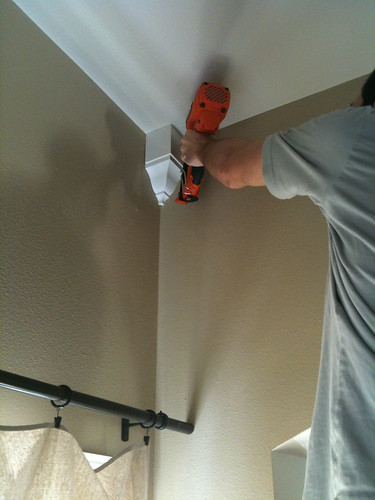
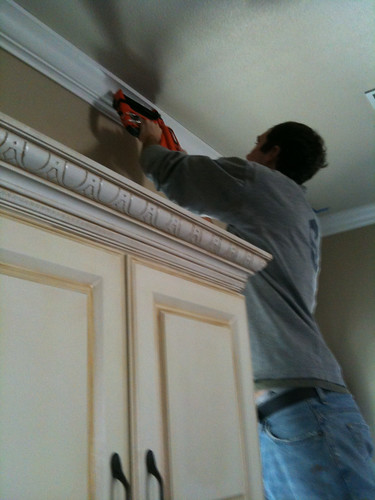
The next weekend we cut and hung the crown.
See that nail gun? Both the best and worst thing we've gotten.
When it works, it works really well. When it stops? Brad wants to throw it through a window.
(See that crown molding on the cabinet? We did that too.)
That was the second weekend.
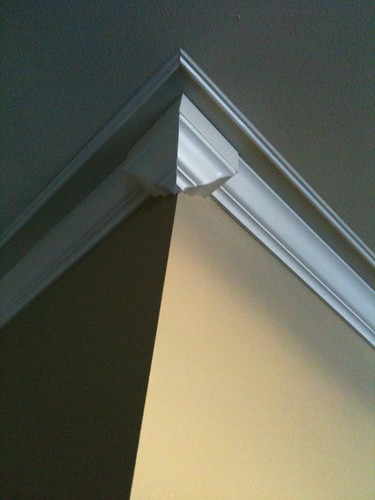
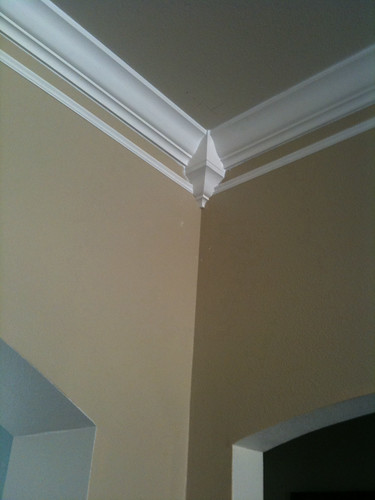
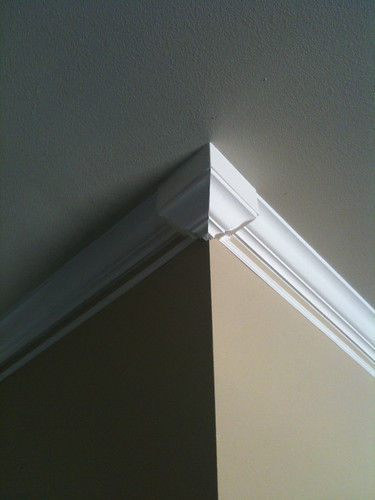
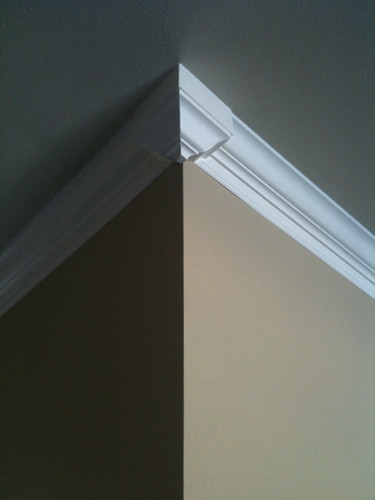
The third weekend we decided to add the second piece of the crown. Two pieces? Yes. We have 10 foot ceilings and wanted to use a really big molding. But since really big molding is expensive, we bought a medium sized crown (5 and 1/4 inch) and then added a smaller decorative piece. (And yes, it was included in the $210 price)
We started by putting the molding on the ceiling. I liked it, Brad did not.
and here:
I guess I should explain. With the 2 piece crown, you paint the wall in between the pieces of molding and it looks like one big piece. I wanted to make the ceiling look higher by putting it up there.
Brad wanted it on the wall.
Usually I get my way, this time I let him have his way.
So we yanked it off the ceiling and put it on the wall.
And then painted everything.
And that was a third weekend.
Three weekends of dragging around ladders and holding things straight and fighting with an evil nail gun.
And, of course, I really didn't mind. It was worth it.
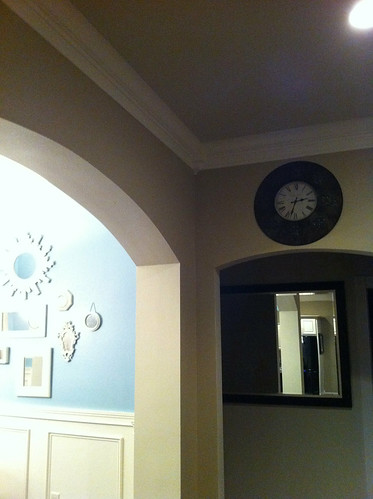
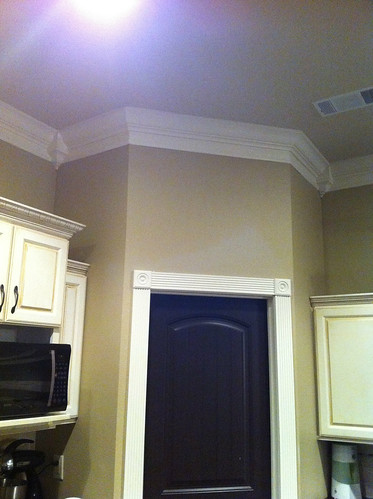
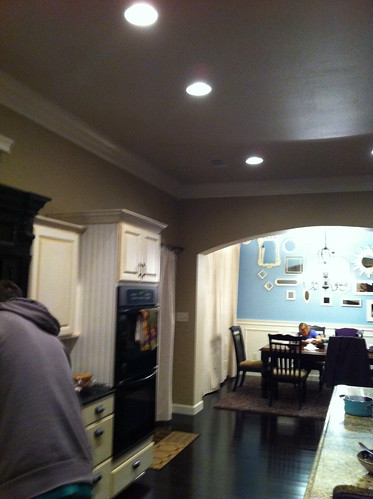
Look! Updates!
Check out those sweet 120 degree cuts! (Tip: cut crown upside down and flat, miter at 19.56 degrees, bevel at 23.20. Don't worry if that means nothing to you)
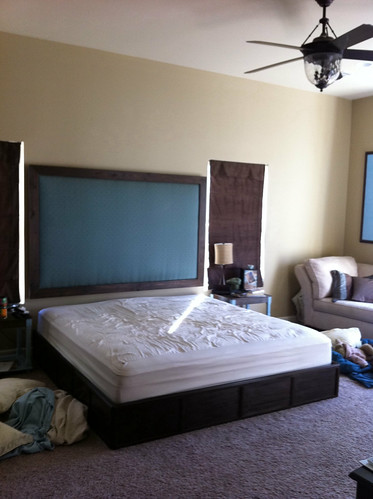
But, we are currently working on this:
The boring bedroom.
Stay tuned.

Looks fantastic! I didn't know about the "painting in between" thing...useful information for our future remodel projects. I'd love to see the "from a distance" shot if you ever get around to taking one :)
ReplyDeleteLook lovely! And btw, I put up my Christmas decorations early too ;)
ReplyDeletehttp://notsocountry.blogspot.com/
This comment has been removed by a blog administrator.
ReplyDeleteGreat article if you ever need crown molding installation in Richmond Va please visit http://www.thefinishingcompany.net/
ReplyDeleteSeriously, I love your taste. It's polished and so personal because of the work you two do. I wish I were that handy.
ReplyDeleteHow can i ask you for more details? Great post needda know more....
ReplyDelete