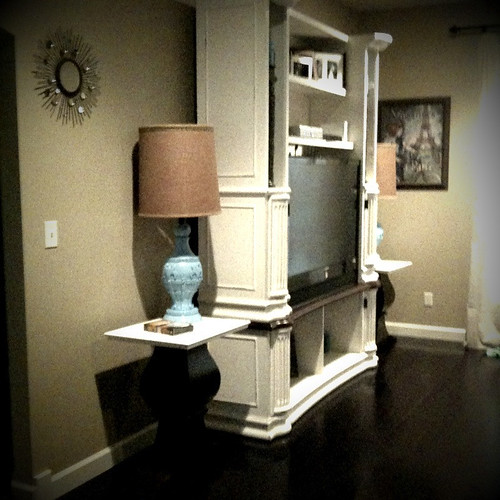
And we painted them blue. And then I decided I didn't like them. So here is a step-by-step process of turning these blue lamps into some pretty wooden lamps.
Step #1:
Throw away the blue lamps. They're hideous. No amount of spray paint will save them. (If you want to be smart about it, you could pull the harp, socket and other 'innards' out and reuse them. Or if you don't have horrible ugly lamps, just buy that new.)
Step #2:
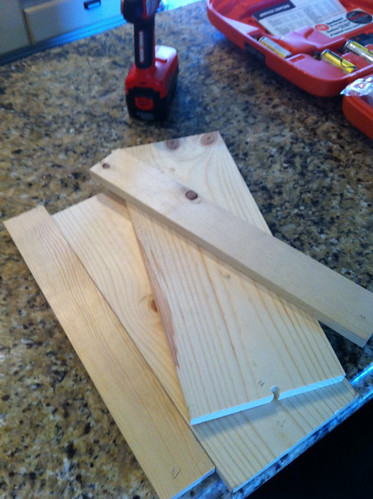
Decide how big you want the lamps. We went with about 18 inches tall. We used a 6 inch wide piece of pine and 2 inch wide pieces for the side. We were looking to create a rectangle. You could go more square with yours, and as tall or as short as you like.
Step #3:
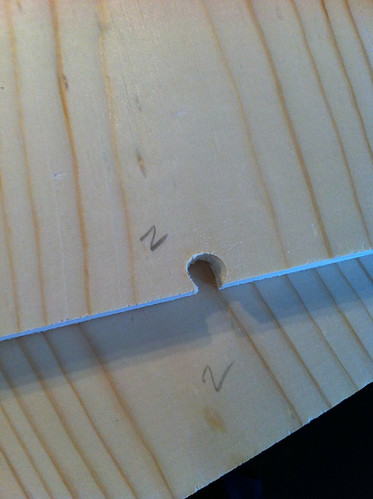
Notch a hole at the base of the backside of the lamp. This is for the cord. (You can see I have the boards numbered so I made sure everything from lamp 1 and lamp 2 did not get confused, in case they weren't the exact same measurements.
Step #4:
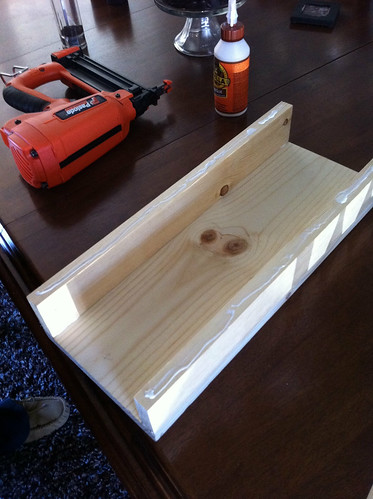
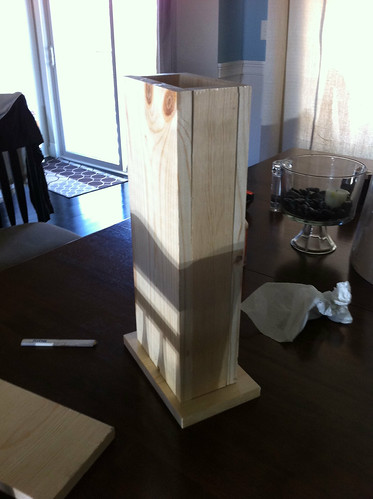
Start putting the pieces together. We used a combination of gorilla glue (because it rocks) and nails. Keep in mind where the seams will be. Ours were on the sides so that the front would be smooth.
Step #5:
Measure the base and the top.
You could go two ways with the top. On the bottom, we have a larger base cut from an 8 inch wide piece of pine. We cut it so that there was the same amount all the way around. Again, more or less, depending on what kind of look you're going for. Our top (not pictured here) fits snuggly into the hole on top. Don't forget to drill a hole for the top of the lamp!
Step #6:
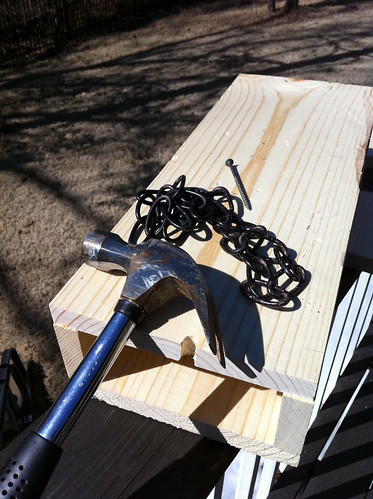
Beat it up. This can be skipped. But we wanted them to look rustic. (Also why we chose pine, it's really soft and frankly, cheap)
Tools: Hammer, nails, chain. Have fun. I like to barely hammer the nail into the surface in small clusters to make it look like worm holes.
Step #7:
Stain to the desired color. Please note, wood conditioner is your friend! If you don't have it, water works fine as well. Basically it opens to pores so the wood will take the stain evenly. Very important if you're working with a dark color [like we are].
Step #8:
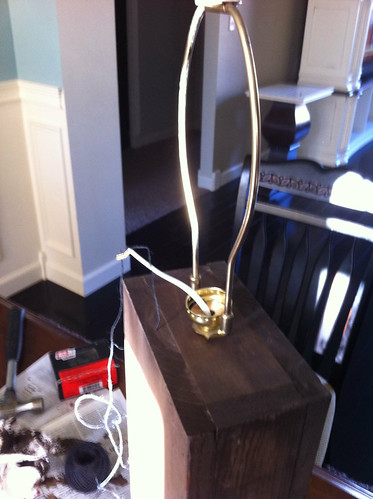
Before you attach the bottom, put all the lamp parts together. If you buy a kit, there are instructions, follow them. If you took your lamp apart, redo what you undid. Since my boxes are kind of narrow, I wasn't able to put my hand inside. I dropped a string through the top and then pulled the cord up. Make sure everything works!
Step #8:
Put on the bottom. I would suggest either nails or screws (but counter sink them so they don't scratch the table), that way if anything goes wrong, you can access the inside of the lamp. If you use gorilla glue just be prepared to throw it away. Seriously that stuff is strong.
Step #9:
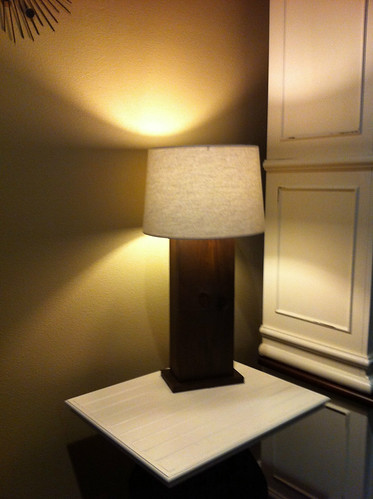
Lamp shade!
Right now, the harp part of the lamp is sitting straight on the top of the box. It kind of looks like the lamp has no neck. Odd? Kind of. I'm not sure I like the look. I think I want a tiny bit of breathing room.
Oh, and pro tip? When you're picking out lamp shades. Even if they are the exact same size and they are stacked together. That does not ensure that they are in fact identical shades. And, if you take off all the wrapping and leave them up for two weeks before you notice it? You are stuck with them.
Impressive as always. I need to know the color of paint on your walls!
ReplyDelete-Meg
Ohhhh niiiice! Hmm, I'd be interested to see how it looks with a neck maybe. I like that entertainment center!
ReplyDeletewow, so impressed. i want a tour of your whole house someday. it's too gorgeous to keep a secret. =)
ReplyDelete