We're running out of rooms in the house that need work. The laundry room is one that Brad has been trying to finish for a while. I was in a state of 'not there yet.' On certain creative type things, I find that I'm not always ready to just jump head long into them. I'm just not ready. The ideas aren't solid. The motivation not there.
But finally, I broke down and we started working. Our laundry room is "L" shaped, with the shorter part of the L going under the stairs to the bonus room (another room that needs work). When we had the floor plans drawn out, we didn't give the laundry room much thought. The guy drew the washer and dryer on the long wall in the middle under the window. Good enough, right?
No. Not right, terrible. Awful placement. Wrong. Wrong. Wrong.
But it's far too late to do anything about that. But next time? I will think long and hard about how the laundry room will be laid out.
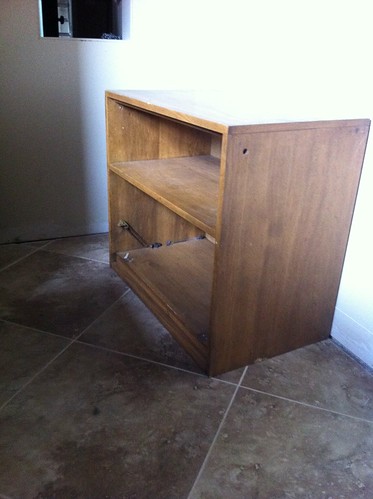
Brad's mom had some old '70s wicker front storage boxes that stacked together in her garage that she didn't want anymore. We snagged them and ripped off the terrible doors, leaving us with solid wood boxes.
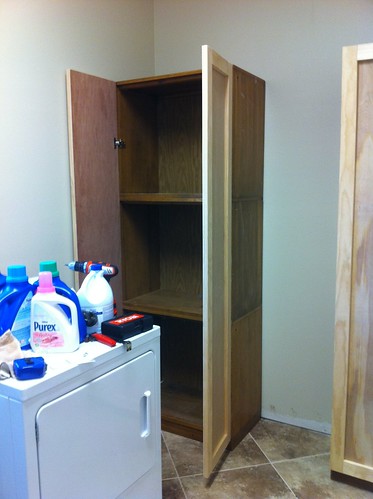
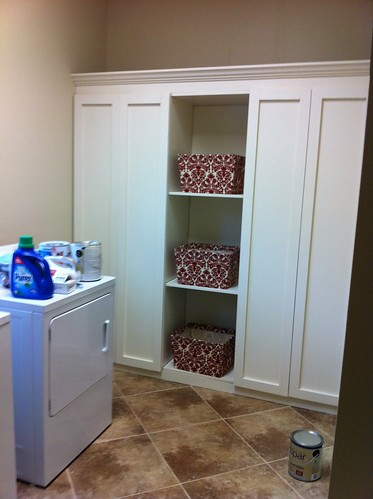
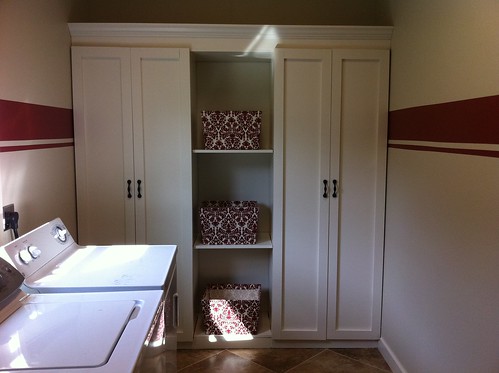
There were six total, so we stacked them three high and made two cabinet and set them into the corners.
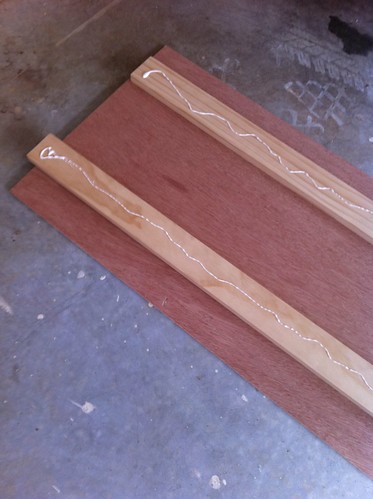
Using luan and pine, we made four doors. We wanted them to be light (hence the luan), but we wanted the doors to have structure, the pine provided that. Brad and I both like the simple look of these framed doors.
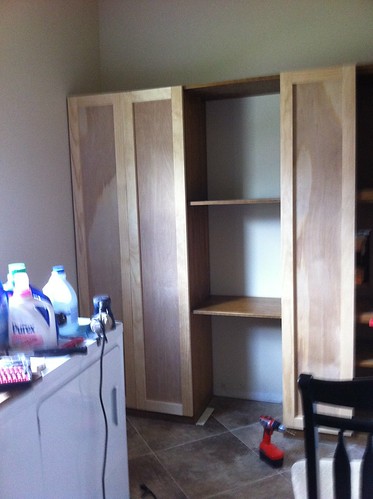
We went back and forth over what to do with the empty space between the cabinets. Leave it open? Put a small bar in there to hang clothes? We ended up placing shelves that originally went inside the boxes, just cut down to fit.
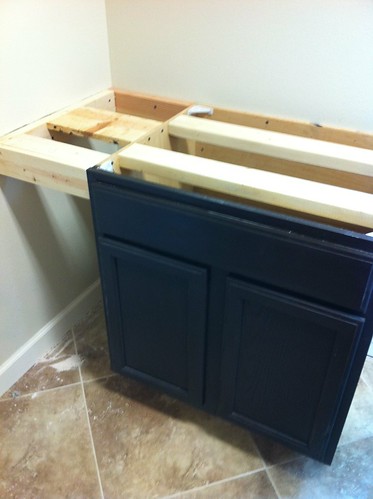
On the other side of the room, we used a left over cabinet that was originally purchased for the master bathroom. (Once we got them painted, we decided we wanted something nicer in there so one cabinet is in the garage for storage, this is the other one.)
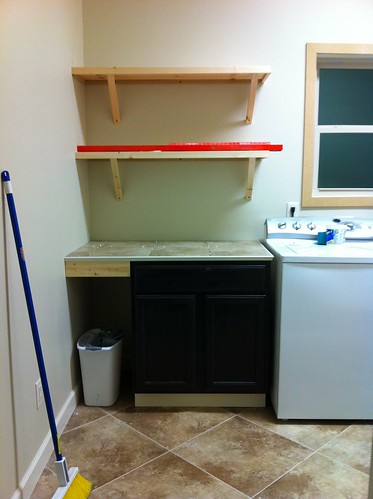
We built an extension to create a cubby for the trash can and supports to hold the tile counter top.
We had some of the 13 inch tiles left over from our shower (they also match the 24 inch floor tiles) so we used that for the countertop.
We also topped this area with two open shelves. The same style we used in the
guest bedroom.
Back on the other side, we topped the cabinets with a piece of wood and a leftover piece of crown molding. The whole thing got a coat of our signature antique white paint.
Baskets from Garden Ridge helped pull everything together. Usually, I'm not a huge fan of red. Everything else in our house is some shade of blue. But when I saw the baskets, I decided that a pop of red just might be what the laundry room needed.
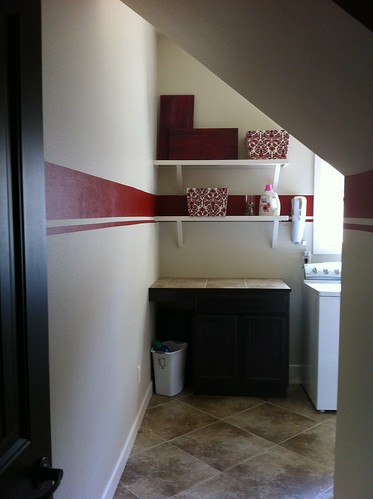
Except, it still felt a bit blah. So I suggested a stripe. Brad was on board. Then I suggested two stripes. He was still on board.
The last time we did stripes (also in guest bedroom), we tried the glaze trick to keep the stripes from seeping under the tape. It did not work. A commenter suggested painting the wall color over the tape then the stripe color. Bingo! It totally worked. So if you ever stripe, you must, must, must do that!
Since so much of this room was things we already had (the boxes from his mom, the left over cabinet from the bathroom, my 'paintings' from my office at work, the crown molding) we didn't spend a ton, roughly $150. This was the cost of the doors, the shelves, paint for the stripes and mastic for the tile.)
I've also got a piece of fabric I grabbed at Garden Ridge (hello, $5 for 3 yards?) that matches the red perfectly. At some point, I'm going to attempt to make a Roman shade for the window. Fingers crossed, because I don't really sew.